by Matt Herron |
You’re ready to start drafting.
At this point, you’ve been introduced to the important pieces of Scrivener’s user interface; you’re familiar with the essential plot and structure principles, including why you should break your story out into component scenes, which Scrivener excels at; you know how to create character and setting sketches using template sheets; and you have a complete account of my storyboarding process for planning stories and getting unstuck while you’re writing.
In other words, you have all the tools you need to start drafting your story.
by Matt Herron |
Storyboarding as it pertains to novels and short stories is the process of mapping out your story, often using index cards, in a high-level way that allows you to see your story visually and rearrange it.
Scrivener’s corkboard view provides the perfect interface to do this digitally, with a method to transition to a physical medium.
by Matt Herron |
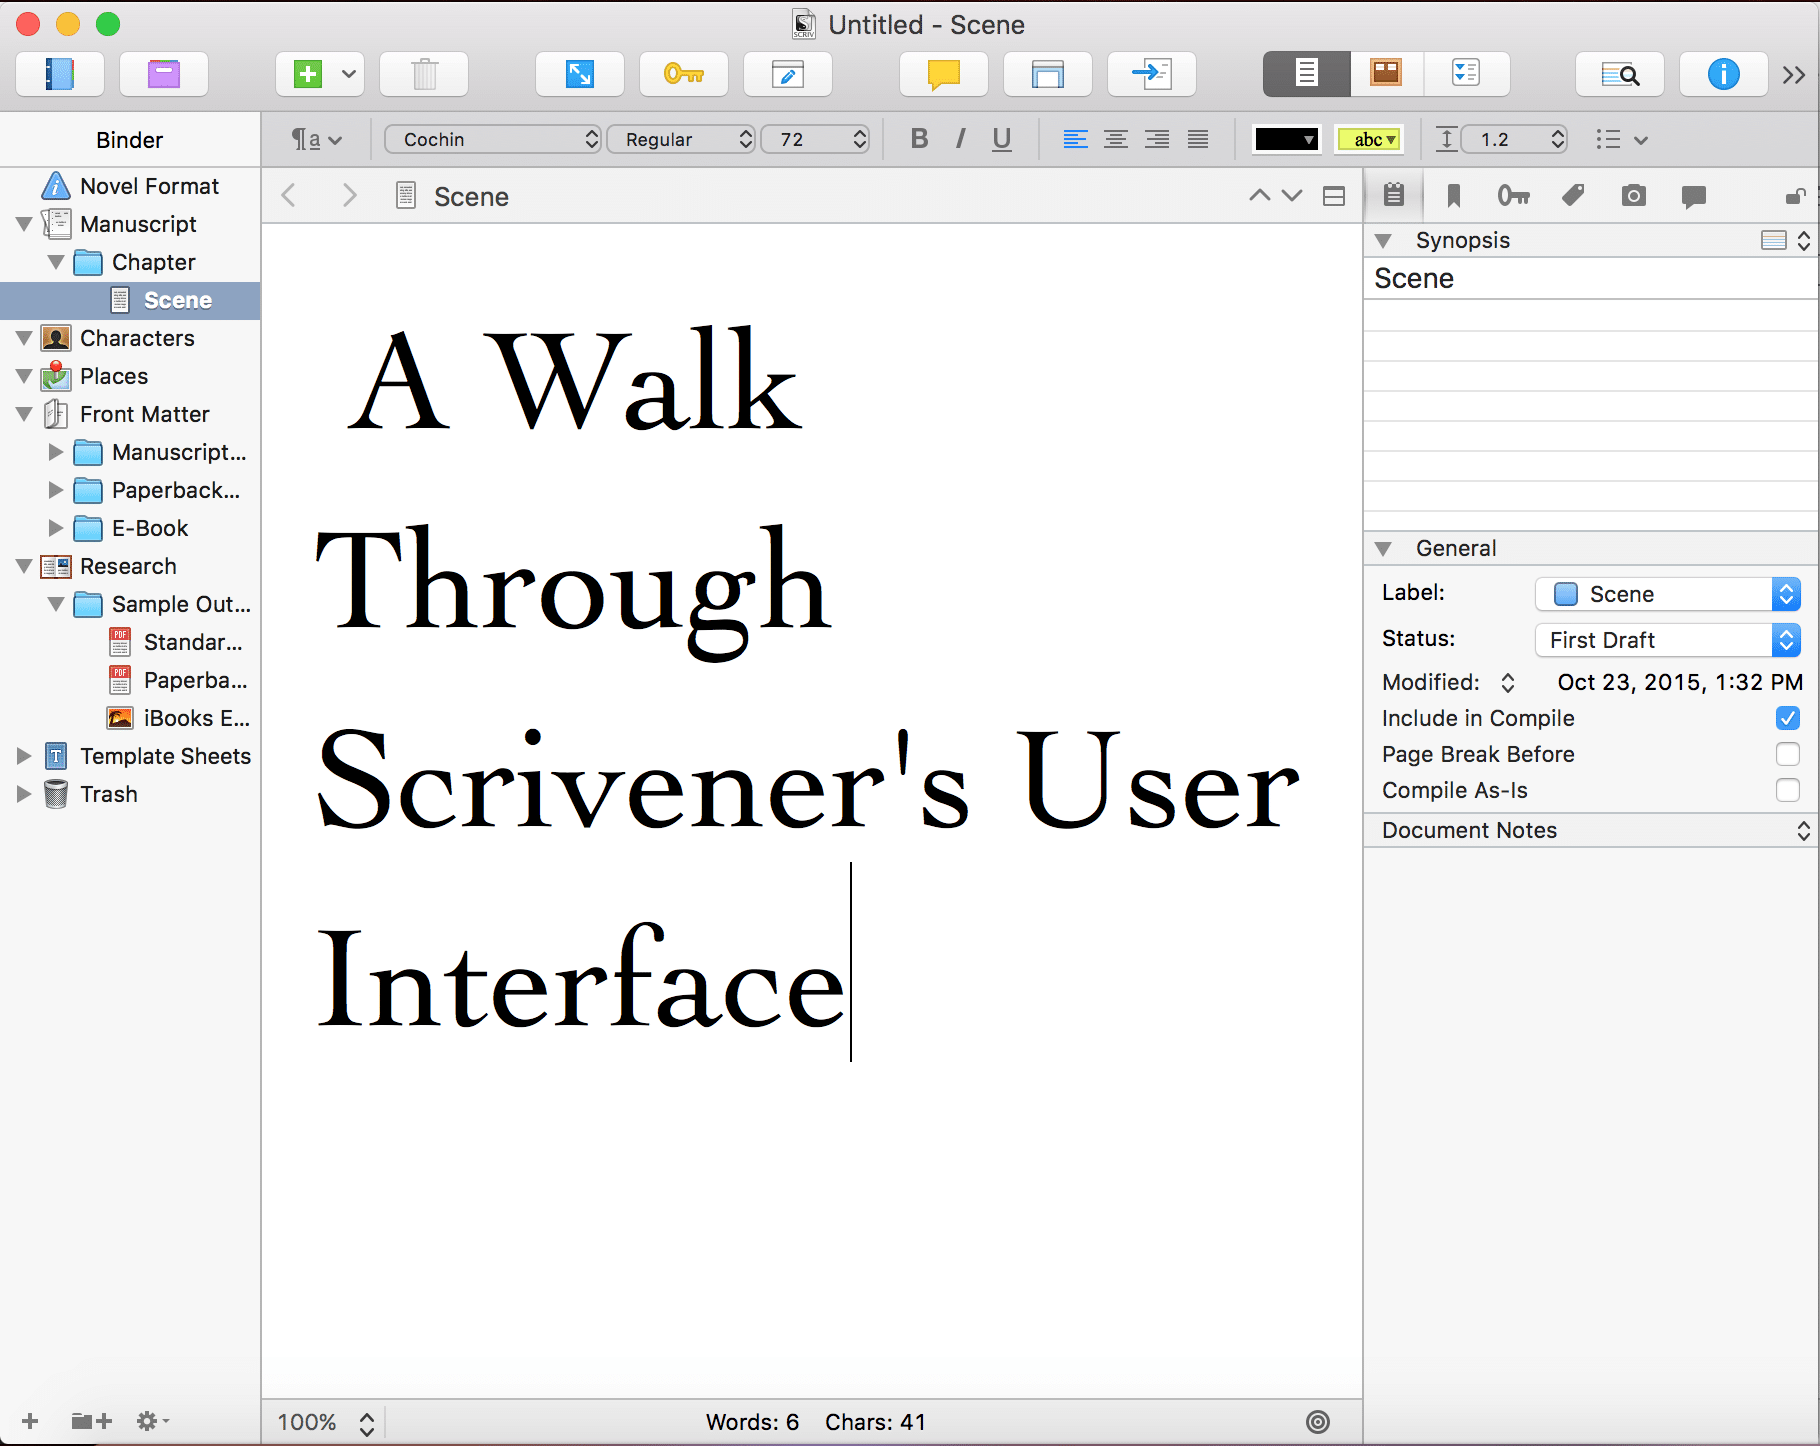
In the Scrivener walkthroughs and workshops I’ve done, one of the most common complaints from new users is that the interface is confusing and overwhelming. People find it difficult to get used to new software, and so they give up before they even get started.
by Matt Herron |
It might help you put the glut of new creative writing tools flooding the market into perspective by examining the history out of which these creative technologies have emerged.
Like all technology, new tools are built on the foundation of the technology that came it. Let’s take a quick journey through the history of creative writing tools so that we can evaluate modern creative writing in a historical context.